
 CALL US

related posts
What Is Included in a Professional Heat Pump Installation?
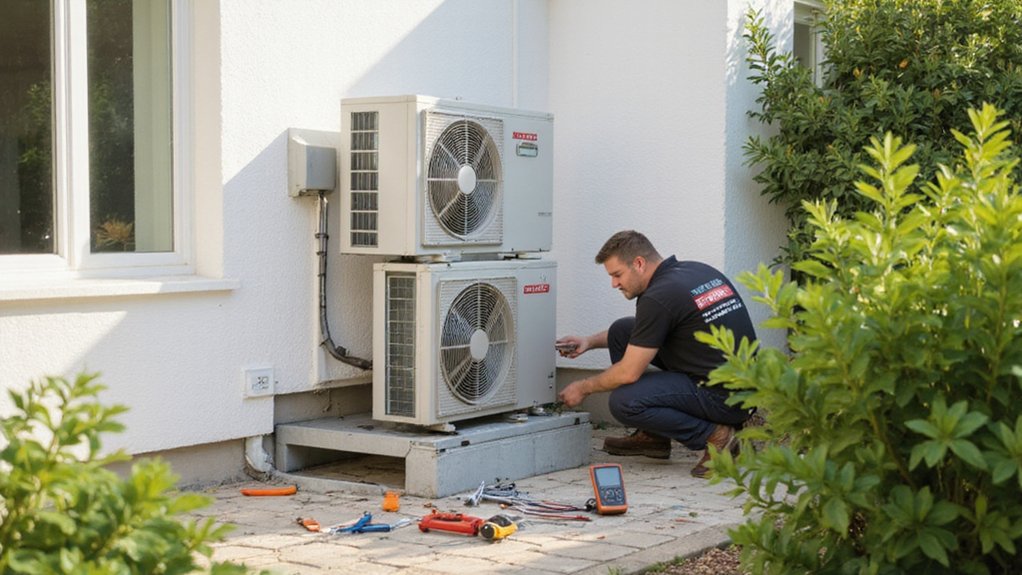
When you consider a professional heat pump installation, it helps to know what the work actually involves. A technician will assess your home, determine the right unit size, and choose suitable locations for the indoor and outdoor equipment. The installation also covers refrigerant lines, electrical connections, drainage, system testing, and local permit requirements.
A well-planned installation can make a noticeable difference to comfort, energy use, and the long-term operation of the system. Knowing what happens during the process also makes it easier to prepare your home and discuss the work with your installation provider.
Key Takeaways
- Assessment of home layout to determine optimal placement of the heat pump unit for efficiency and accessibility.
- Installation of necessary electrical wiring and refrigerant lines following manufacturer specifications to ensure proper functioning.
- Preparation of the installation area, including drainage and access for maintenance and operation.
- Thorough testing of the system post-installation to check for leaks and ensure optimal performance.
- Securing local permits and adhering to zoning regulations to comply with legal requirements for installation.
Understanding Heat Pumps: How They Work

A heat pump works by moving heat from one place to another instead of creating heat directly. A refrigerant inside the system absorbs and releases heat as it moves through the heating and cooling cycle.
In heating mode, the system takes heat from the outside air or ground and transfers it into your home. Even when outdoor temperatures are low, there can still be heat available for the system to move indoors.
In cooling mode, the cycle reverses. The heat pump removes heat from inside your home and releases it outdoors. This allows one system to provide both heating and cooling throughout the year.
Heat pumps can also use less energy than some traditional heating and cooling systems because they move heat rather than produce it through combustion or electrical resistance. The actual performance depends on the system, outdoor conditions, home insulation, and how well the equipment is installed.
Understanding how the system works gives you a better idea of why sizing, placement, refrigerant connections, and airflow all matter during installation.
Choosing the Right Heat Pump for Your Home
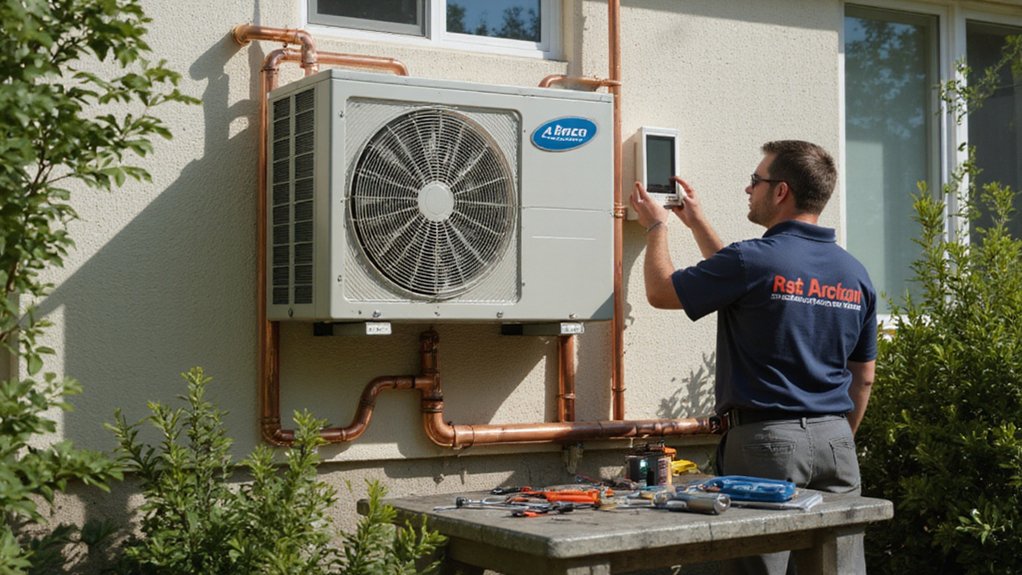
Choosing a heat pump starts with looking at your home's heating and cooling needs. The size of your home matters, but it is not the only factor. Insulation, windows, ceiling height, layout, and local weather conditions can all affect the amount of heating or cooling required.
Heat pump efficiency ratings, such as SEER and HSPF, can also help when comparing systems. These ratings provide information about how the equipment performs under specified testing conditions.
Your local climate deserves attention as well. A system designed for mild weather may not be the right choice for an area with very cold winters. Some heat pumps are built to continue providing heat at lower outdoor temperatures.
It is also worth reviewing the manufacturer's warranty, installation requirements, and available service support before making a decision. A qualified installer can help match the equipment to your home's requirements rather than choosing a unit based only on its size or price.
Step-by-Step Guide to Your Heat Pump Installation
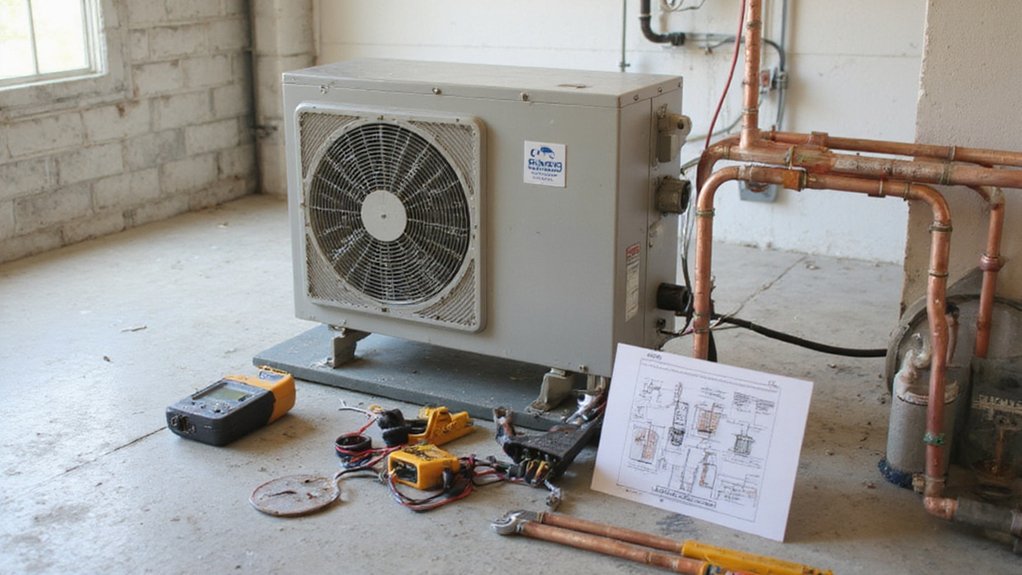
A heat pump installation involves several stages, and the work should begin before the equipment is brought into your home.
The technician first assesses the property and determines the ideal placement for the indoor and outdoor units. The location needs to provide enough clearance for airflow, access for servicing, and suitable connections between the components.
The installation area is then prepared. This may include creating a stable base for the outdoor unit, planning drainage, clearing access routes, and checking nearby electrical and plumbing connections.
Once the area is ready, the technician installs the equipment and connects the refrigerant lines and electrical wiring according to the manufacturer's specifications. The refrigerant circuit must be handled carefully, and electrical work needs to meet applicable local requirements.
The system is then checked before it is put into normal operation. Technicians may inspect connections, test for refrigerant leaks, check electrical readings, and confirm that the equipment responds correctly to the thermostat.
The system should also be tested in the appropriate operating modes. Unusual sounds, poor airflow, temperature problems, or other issues can indicate that further adjustments are needed.
Before leaving, the installer should explain basic operation and maintenance requirements. A clear handover gives you a better understanding of thermostat settings, filters, routine care, and what to do if the system develops a problem.
Essential Tools and Equipment for Installation
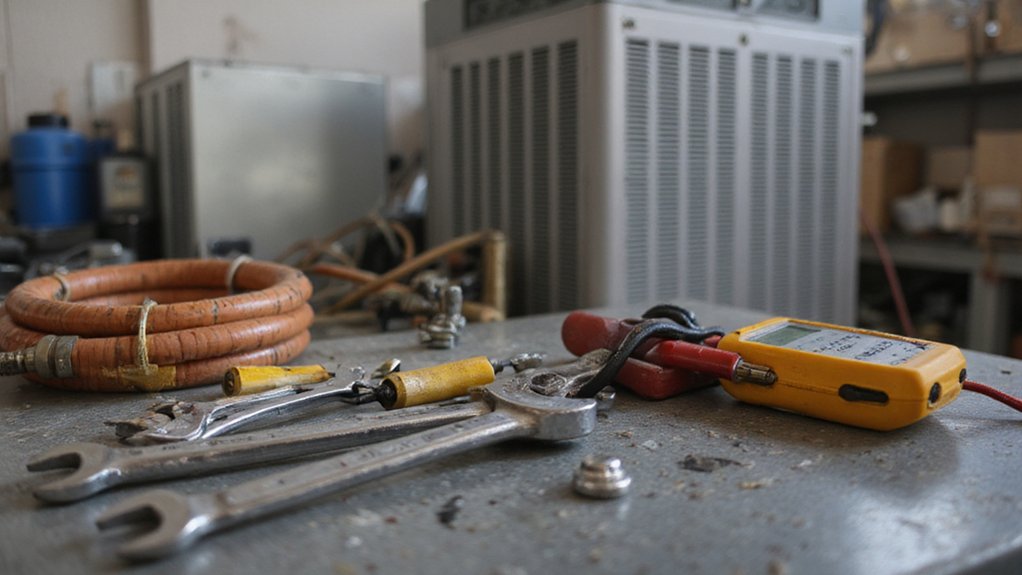
Heat pump installation requires specialized tools because the work involves refrigeration, electrical connections, mounting, and system testing.
Common equipment includes a refrigerant gauge, torque wrench, manifold gauge set, vacuum pump, and multimeter. Each tool serves a different purpose. For example, a vacuum pump is used when preparing refrigerant lines, while a multimeter helps technicians check electrical measurements.
Installers also need basic tools such as a level, drill, fasteners, and equipment suitable for securing the indoor and outdoor units.
Personal protective equipment, including gloves and safety goggles, is also part of safe installation work.
A detailed installation checklist can help technicians keep track of required materials, connections, inspections, and testing. This is especially useful when the installation involves electrical changes, new refrigerant lines, drainage work, or modifications to existing equipment.
How to Determine Your Home's Heating and Cooling Requirements
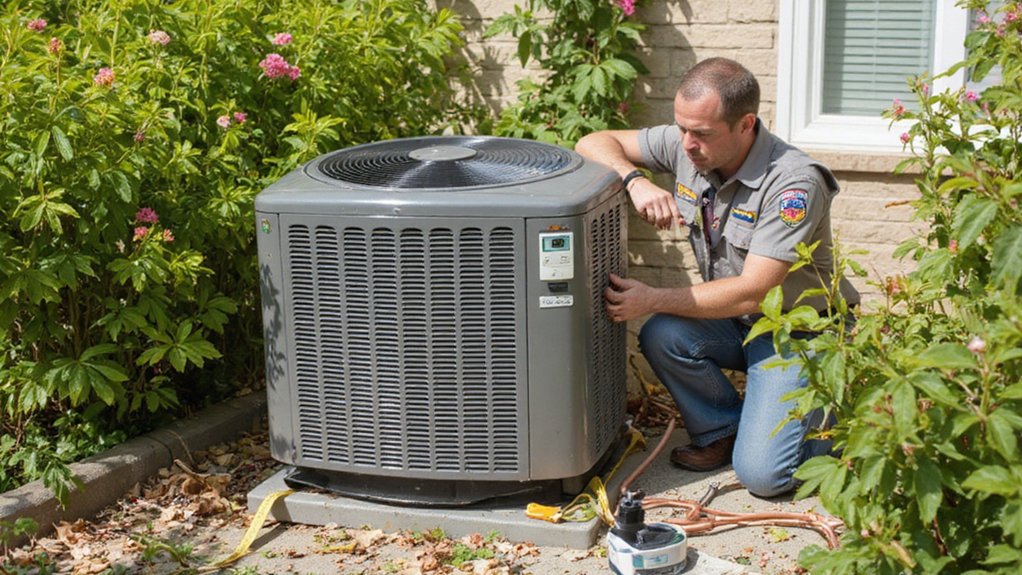
Before choosing a heat pump, you need to know how much heating and cooling your home requires. This is commonly determined through a heat load calculation.
The calculation looks at several parts of the property, including floor area, insulation, windows, doors, ceiling height, building orientation, and local climate. These details help determine how much heating or cooling the home may need during different weather conditions.
Your climate zone also affects the choice of equipment. Homes in colder areas may need a heat pump designed to operate effectively at low outdoor temperatures. Homes in warmer areas may place more emphasis on cooling performance.
Online calculators can provide rough estimates, but they should not replace a proper assessment when accurate equipment sizing is needed. A qualified professional can evaluate the home and account for factors that a basic calculator may overlook.
Correct sizing matters because the heat pump needs to match the home's actual heating and cooling load. A unit that is too small may struggle to maintain comfortable temperatures. A unit that is too large may cycle more frequently than intended.
Why Size and Placement Matter for Your Heat Pump

The size and location of a heat pump can affect how well it operates. Getting these details right can also help prevent unnecessary energy use and comfort problems.
Proper Sizing Importance
A correctly sized heat pump can provide the heating and cooling your home needs without being forced to operate outside its intended range.
A unit that is too small may run for long periods without reaching the desired indoor temperature. A unit that is too large may reach the thermostat setting quickly and switch on and off more often.
Sizing calculations should take into account the home's square footage, insulation, windows, local weather, and other building characteristics. Simply choosing a larger unit does not guarantee better performance.
Professional assessment is useful because the installer can look at the entire property rather than relying only on floor area.
Optimal Location Benefits
The outdoor unit needs enough open space for air to move freely through the system. Obstructions such as walls, plants, fencing, or stored items can interfere with airflow if they are too close to the equipment.
The unit should also be positioned where technicians can reach it for inspection and service. A stable, level base is needed to keep the equipment properly supported.
Drainage deserves attention too. During certain operating conditions, water can collect around the outdoor unit. The installation should provide a suitable path for this water to drain away.
Indoor components also need appropriate placement. The location should support good air distribution while allowing access to filters and other service points.
What Common Challenges to Expect During Installation?
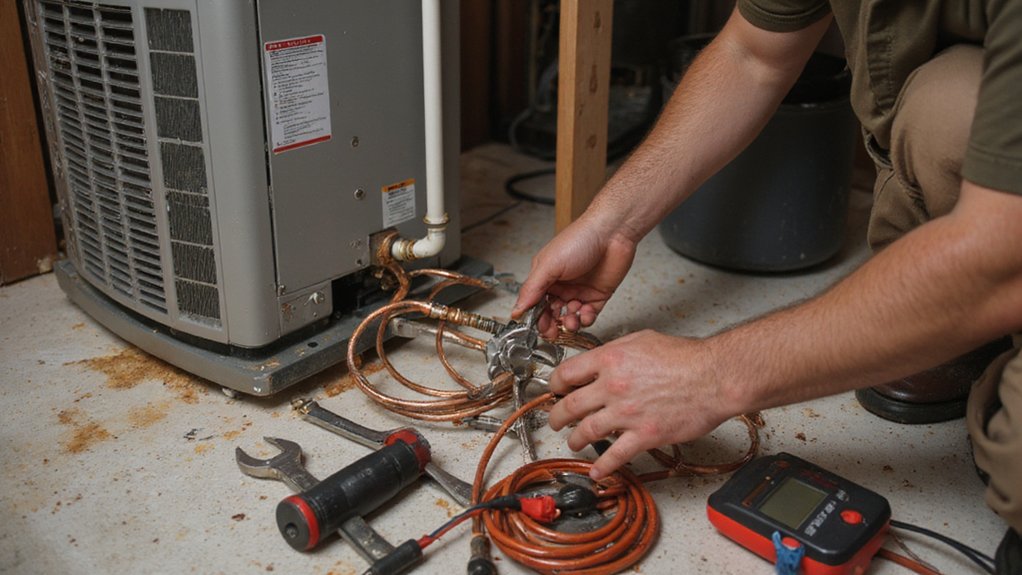
Not every heat pump installation is straightforward. Existing building conditions can create additional work, especially in older homes or properties where the electrical system, ductwork, or available installation space needs changes.
Preparing for these possibilities can help prevent surprises during the project.
Site Preparation Issues
Site preparation can involve several practical concerns. The installer may need to check the stability of the outdoor unit's foundation, drainage conditions, access routes, and available working space.
Local zoning regulations may also affect where outdoor equipment can be placed. Depending on your location, permits may be required before certain work begins.
Access can become another issue. Large equipment may need to pass through narrow spaces, around landscaping, or through areas that are difficult to reach.
Existing utility lines may also affect where the equipment can be installed. Identifying these issues before work begins gives the installer a chance to plan around them.
Preparing the site ahead of time can reduce delays and make installation day easier.
Electrical Connection Challenges
Electrical work can be one of the more technical parts of heat pump installation. The home's existing electrical system needs to be suitable for the equipment being installed.
Older homes may need electrical upgrades if the existing panel or circuits cannot support the heat pump. The installer also needs to check the required voltage and circuit capacity for the selected equipment.
If the circuit does not provide enough amperage, breakers may trip during operation. Incorrect electrical connections can also create safety concerns or damage equipment.
Proper grounding and correctly sized wiring are important parts of the installation. Electrical work should be completed according to applicable codes and manufacturer requirements.
Identifying these concerns before installation can help reduce unexpected changes once the work has started.
Heat Pump Installation: Maintenance Tips for Longevity
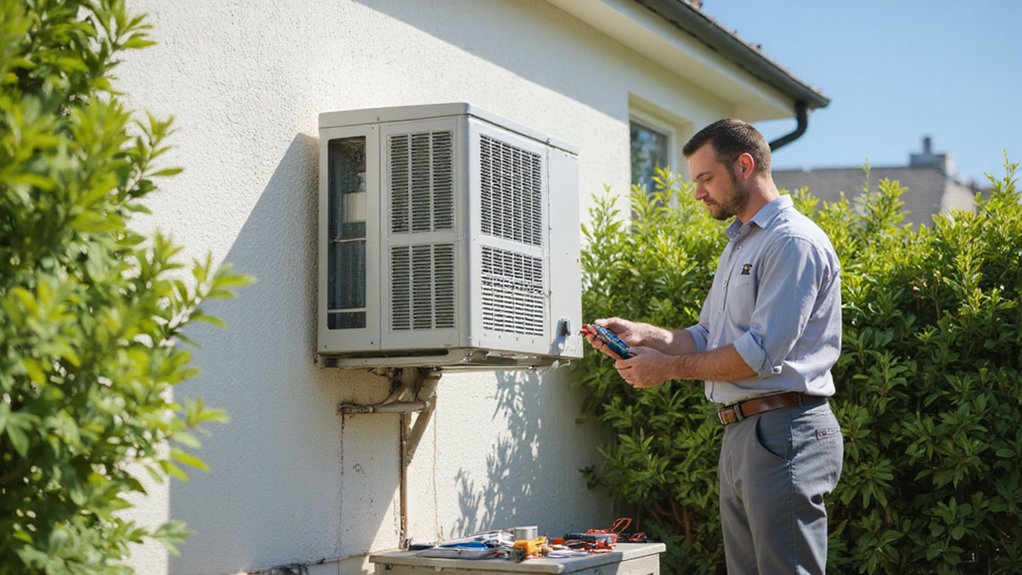
Once your heat pump is installed, regular maintenance can help keep it operating properly.
Start by checking the air filter regularly. A dirty filter can restrict airflow and make the system work harder. Depending on the filter type and household conditions, cleaning or replacement may be needed monthly or at another interval recommended by the manufacturer.
The outdoor unit should also be kept clear of leaves, dirt, grass, and other debris. Good airflow around the unit helps it operate as intended.
Professional service can include checking refrigerant levels, inspecting for leaks, examining electrical connections, and checking system controls. These inspections can help identify problems before they become more difficult to address.
It is also useful to check the thermostat and make sure it is reading and controlling the indoor temperature properly.
Seasonal maintenance is a good time to have the system inspected before periods of heavy heating or cooling use.
What Are the Costs Involved in Heat Pump Installation?
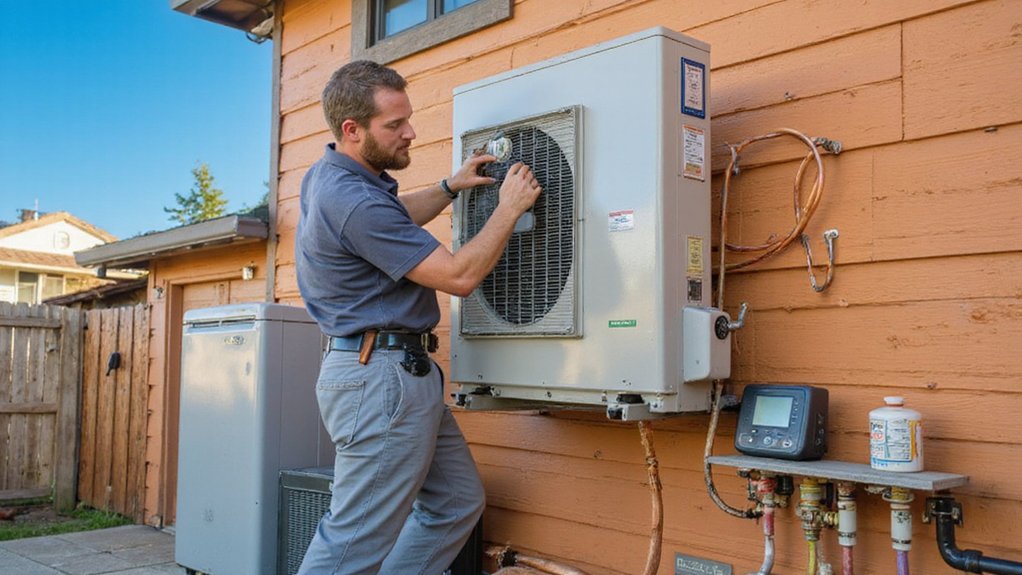
Heat pump installation costs vary from one property to another. The final price can depend on the equipment selected, system capacity, installation difficulty, electrical work, ductwork, and local labor rates.
A typical cost breakdown may include the heat pump itself, installation labor, permits, electrical modifications, refrigerant work, and any changes needed to the existing heating or cooling system.
Equipment costs can vary widely. The original estimates of $3,000 to $8,000 for equipment and $1,000 to $2,500 for labor should be treated as general figures rather than a fixed price. Local pricing and the type of system can change the total considerably.
Additional work may be needed if your home requires new ductwork, electrical upgrades, drainage changes, or structural preparation.
Before work begins, ask the installer for a written estimate that explains what is included. This can make it easier to compare proposals and understand which items could increase the final cost.
How to Evaluate Your Installation Service Provider?
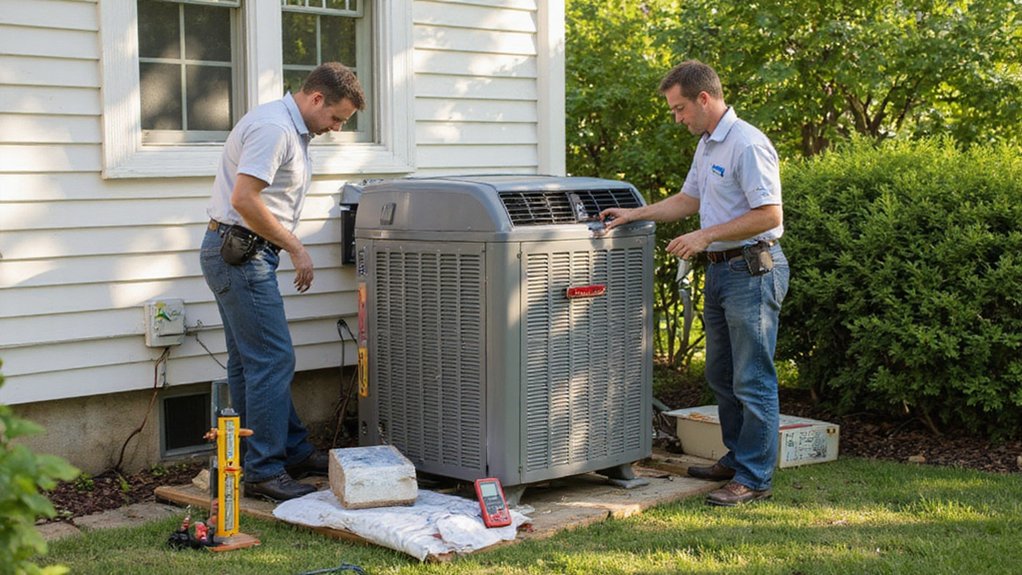
When choosing an HVAC contractor, look for a provider with experience installing the type of heat pump you are considering.
Online reviews and customer feedback can provide useful information about previous installation experiences. You can also ask about the provider's experience with similar homes and systems.
Ask about service warranties and find out what the warranty covers. Some warranties cover equipment parts, while others may include labor or have separate terms.
Licensing and certifications should also be checked where required by local rules. Refrigeration and electrical work may have specific requirements depending on your location.
Before signing an agreement, make sure the proposal clearly explains the equipment, installation work, expected timeline, warranty terms, permits, and any work that is not included in the quoted price.
A clear conversation before installation can help prevent misunderstandings later.
Frequently Asked Questions
How Long Does a Heat Pump Installation Typically Take?
A heat pump installation can take one to two days for many standard projects, although the actual timeline depends on the equipment, property, electrical work, ductwork, and other site conditions.
More complicated installations may take longer, especially when existing systems need to be removed or upgraded.
Can I Install a Heat Pump Myself?
Heat pump installation involves electrical work, refrigerant handling, specialized tools, and careful system testing. While some basic tasks may appear straightforward, the complete installation can present safety and technical concerns.
Professional installation is generally the safer option, particularly when electrical connections or refrigerant circuits are involved.
What Permits Are Required for Heat Pump Installation?
Permit requirements vary by location. Depending on local rules, you may need building, mechanical, or electrical permits.
Your installation provider should be able to explain which permits apply to the project. Checking local requirements before work begins can help prevent delays.
Are There Warranties for Heat Pump Installations?
Heat pump equipment commonly comes with a manufacturer's warranty, although the coverage varies by brand and model. Installation companies may also provide separate coverage for their workmanship.
Review the warranty terms carefully. Check what is covered, how long the coverage lasts, and whether there are conditions that need to be met to keep the warranty valid.
How Can I Prepare My Home for Installation Day?
Clear the areas where technicians will be working and make sure they can reach the indoor and outdoor installation locations.
If outdoor equipment is being installed, remove items that could block access. Inside the home, move furniture or stored items away from the work area.
It can also help to discuss the expected installation process with your contractor ahead of time. Knowing where equipment will be placed and what work will take place can make the day easier for everyone.
Conclusion
A professional heat pump installation involves much more than placing a new unit outside your home. The process includes assessing the property, choosing the right equipment, preparing the installation area, connecting electrical and refrigerant lines, checking drainage, and testing the completed system.
Proper sizing and placement can affect comfort and energy use, while regular maintenance can help keep the system operating properly over time.
Before choosing an installer, review their experience, licensing, warranty terms, and written estimate. A clear understanding of the work can help you prepare for installation and make informed decisions about your home's heating and cooling system.

other blog posts
Should I Choose a Local Heat Pump Installer or a Large HVAC Company?
How to Choose the Right Size HVAC System for Your Home
What Is the Difference Between Ducted and Ductless Heat Pumps?
Ready to Enhance Your Comfort
Contact us today to schedule your service, learn about energy-saving rebates, and feel comfortable in your home all year round.

